Linux Newbie: Running Manjaro on MacBookPro
The article explains how to install and set up Manjaro KDE on your Apple MacBook Pro (Early 2015) Retina 13". If you are a Linux newbie and want to try Manjaro too, this guide is for you!

Installation
First of all, it’s recommended to use the stable version from Manjaro. You can download the image file at its official website, and can create a bootable USB stick from that. If you never did this before, there is a step by step guide here on the website. It is pretty understandable.
After you create the bootable USB and connect it to your laptop, restart your computer. For MacBook user, please long press the key option after reboot and choose to boot from the USB stick.
Now, you will be able to have a first impression of your future OS.
The whole installation process is pretty easy and smooth if you follow the installation guide.
Basic Setup
So now you have an out-of-the-box desktop environment. But there are some basic adjustments you have to do before you start to customise other parts.
Update your system to the latest version.
The Manjaro distro is based on Arch Linux.
For Arch Linux based distros, pacman is the package manager that is used for installing, updating, removing your packages.
So, open the terminal and run this to update your system.
sudo pacman -Syyu
Then we are good to go to our next steps.
Allow AUR as packages source.
There are several repositories for Arch based Linux users when you want to install new applications (or let’s say packages). As mentioned, pacman is usually used for installing packages that are offered by Manjaro maintenance team, the community. However, there are several common applications for which you will need to install from AUR (Arch User Repository).
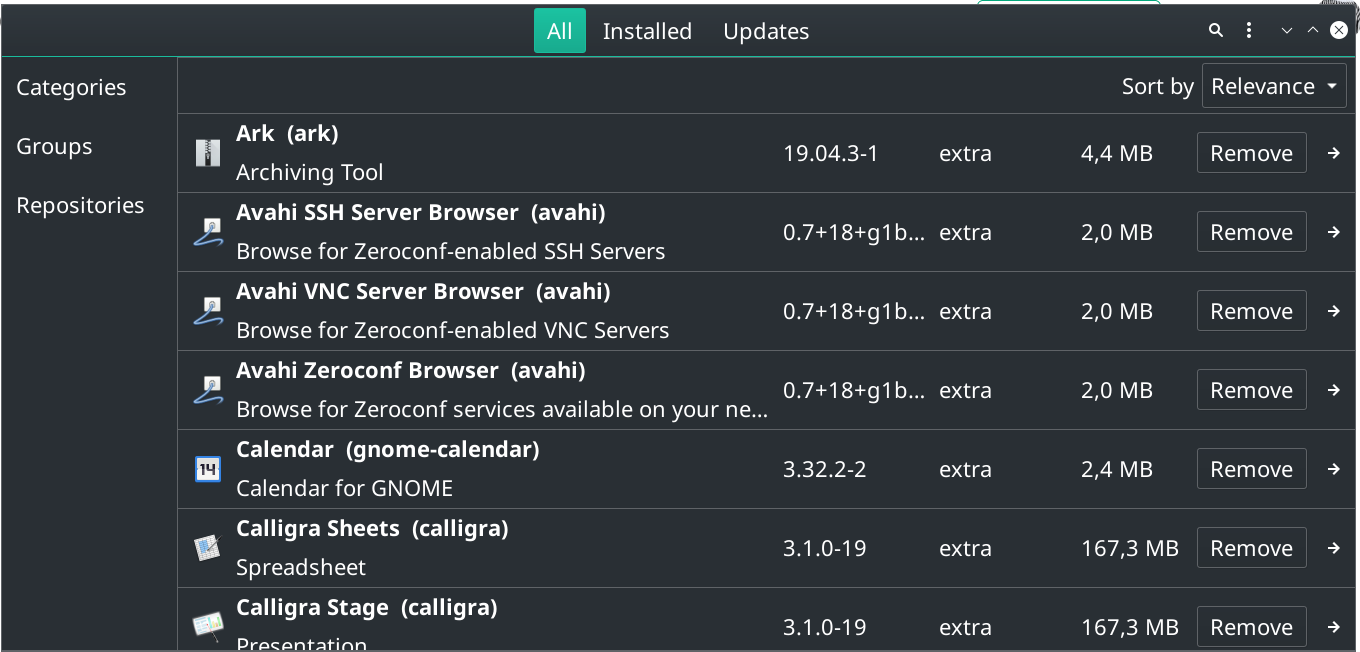
First, please install pamac, another GUI for the existing package manager. The original one is Octopi.
Through pamac you can enable AUR as package repository.
sudo pacman -S pamac
Run pamac. Search for the application with name Add/Remove Software, and you will find it.

Go to Settings (the buttom at upper right) > Preferences > AUR. Here you can enable AUR support and check the box for getting updates from AUR.
Later we will need to install some packages from AUR through pamac.
Install and configure the MBP fan driver.
You probably notice that the fan is not working probably. Here is how we can make the fan work on your MacBook Pro again.
First, there are some modules to be created for the fan speed and the temperature sensors:
sudo nano /etc/modules
Insert these two lines to add the modules.
coretemp
applesmc
Save it.
Then we need to install mbpfan-git through our pamac.
After that, make the sensors detectable.
sudo sensors-detect

# Start the fan:

sudo systemctl enable mbpfan
sudo systemctl start mbpfan
It is recommended to also configure the fan speed etc. with your own working preference.
sudo nano /etc/mbpfan.conf
My configuration file looks like this:
min_fan1_speed = 1300
max_fan1_speed = 6100
low_temp = 60
high_temp = 64
max_temp = 80
polling_interval = 3
However, you could also refer to a more detailed tutorial here at ineed.coffee.
Adjusting the display and scaling factors.
If you have a MacBook Pro Retina or other laptops with high resolution display, you probably notice that all the texts and icons are extremely small. In this case it’s recommended to change the scaling factor here (for Manjaro KDE):
System Settings > Display and Monitor > Displays > Scale Display
Take my own setting as an example — my display resolution is 2560x1440, and with that I use 1.4 as the scaling factor.
Fixing the suspend issue.
When I first time installed Manjaro, I noticed that sometimes the laptop woke up while the lid was closed. Later on, I realized it is one of the common issues when running Linux on MacBooks — the suspend doesn’t work properly.
I found a solution in Phil Plückthun’s article.
Open the terminal and type this:
sudo nano /etc/systemd/logind.conf
Then, add these two lines below in the configuration and save it.
HandlePowerKey=suspend
HandleLidSwitch=suspend
Make your front camera work (optional).
You will have to install a specific driver in order to use the front camera on your MacBook Pro. The package name is called facetimehd.
The gitpage page can be found here and there is an intruction.
I ecountered some problems here, so make sure you also check the additional notes in the instruction. That could help.
Now it’s almost done.
Do customization.
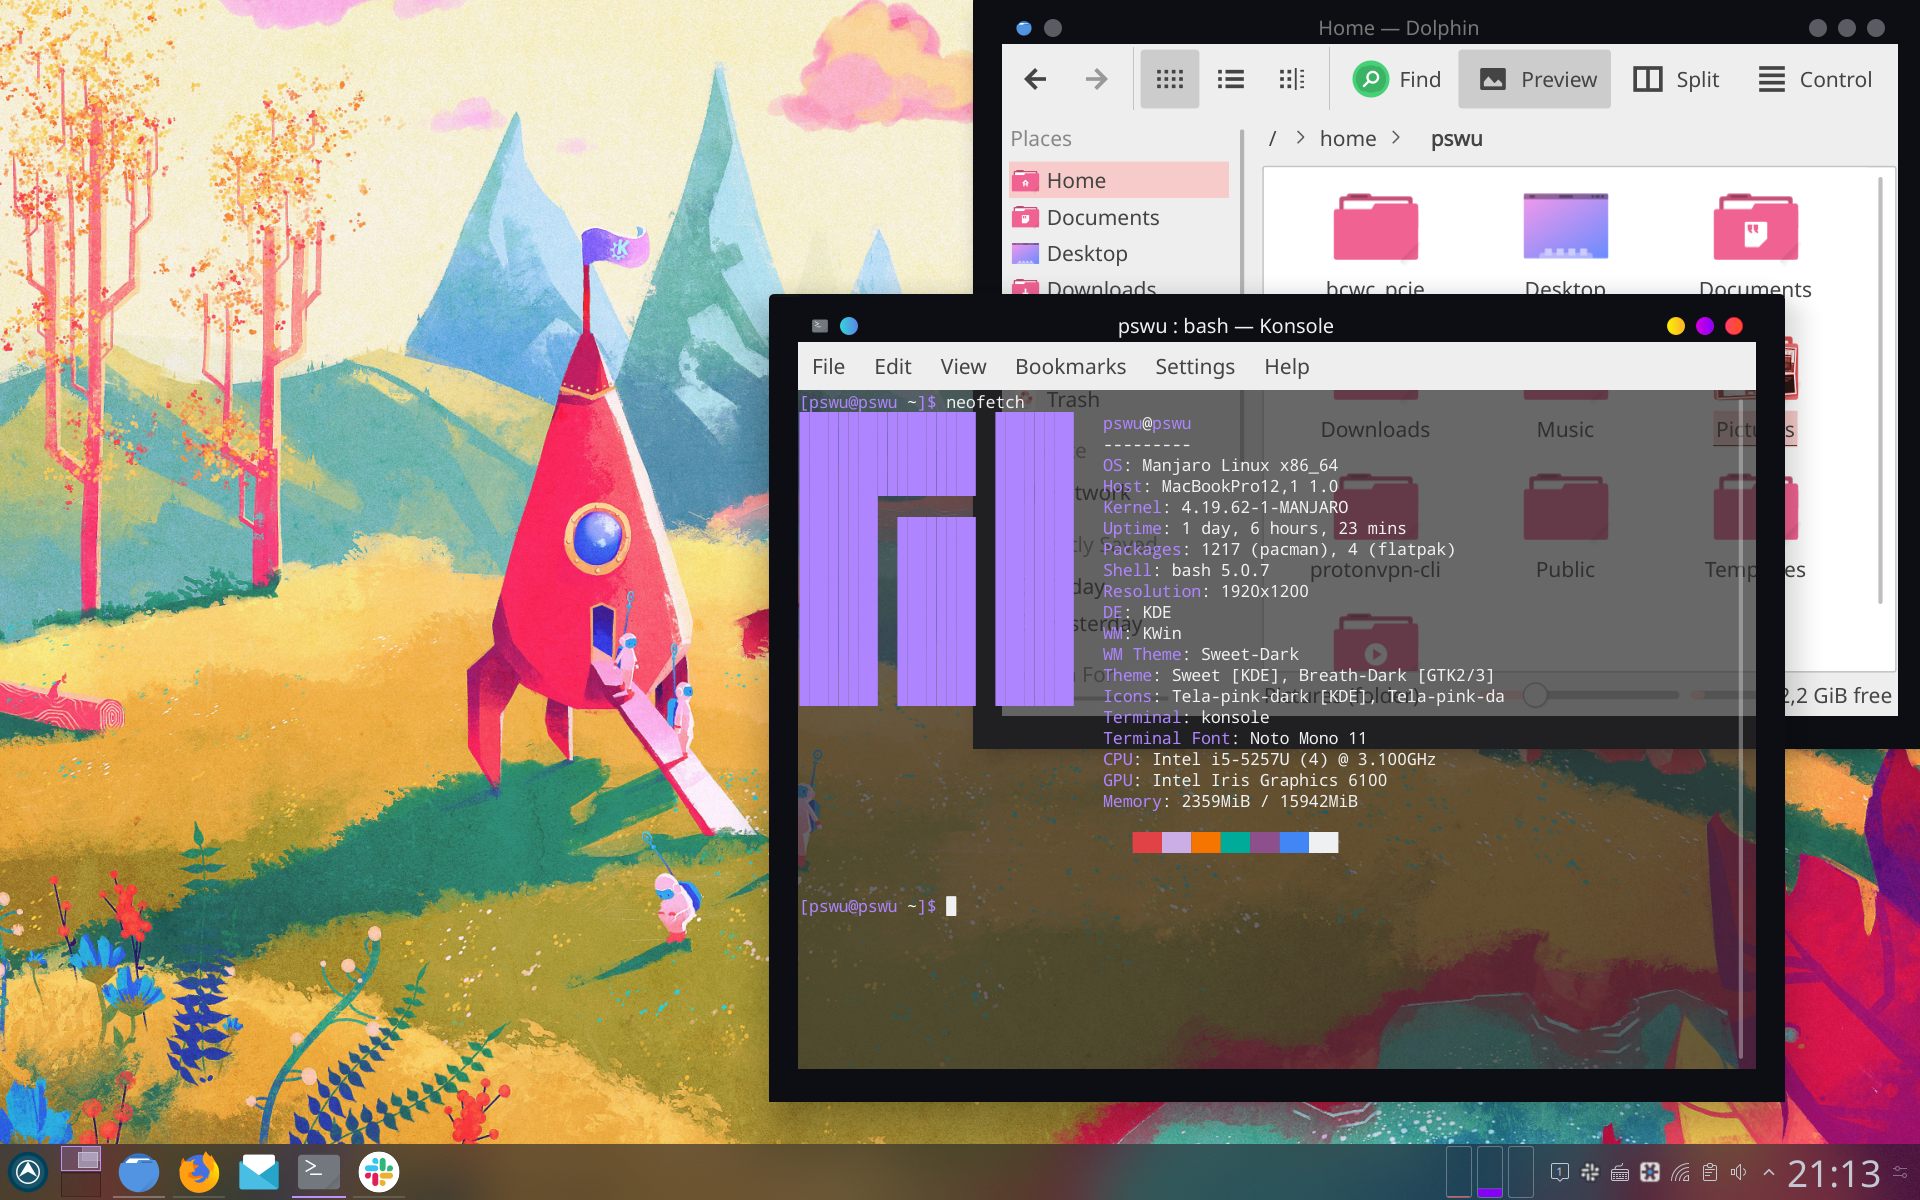
Now it’s time to customize your desktop the way you want!

Get your favourite applications
Linux newbie or not, as mentioned before, there are several sources of packages. When you are not sure where to find your favourite applications, you can search keywords at ArchWiki. There you will usually find possible choices to get the exact application you want, or alternatives.
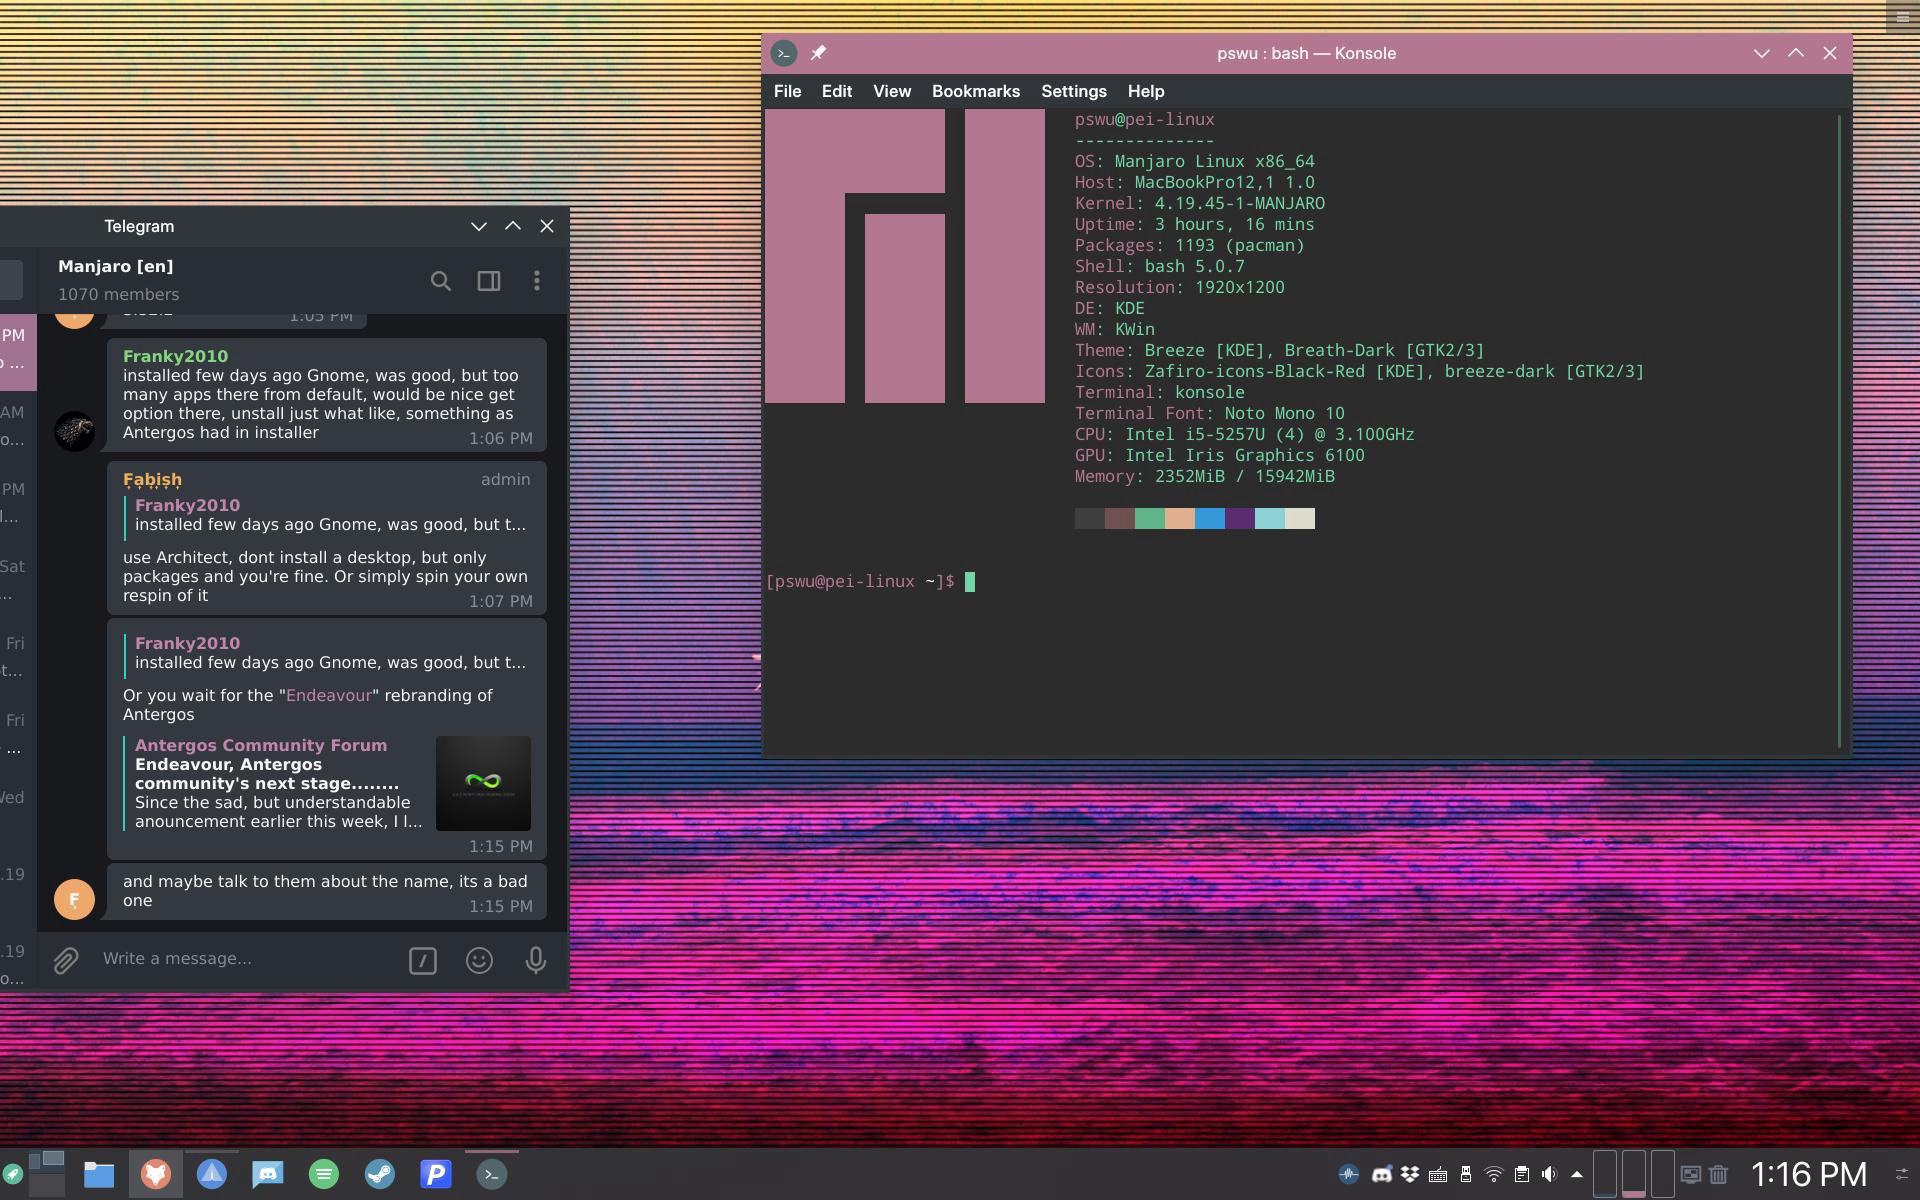
Also, if you encounter any problems while configurating your new desktop, you could join Manjaro telegram group or look for solutions at Manjaro’s offical forum.
This is my first time installing and configuring Linux. Through this article, I record my journey of learning about Manjaro.
I am glad that I can share my takeaways with people who are also new but interested in trying out!
I hope you enjoy using your new Manjaro KDE! 💜
Note: This article is also published on Medium (Link)