Building a Minimalist Website with Hugo in a Day

How much time do you need to build a personal website with a blog module?
I've been having this idea in mind for several weeks - building my personal website. But having another full-time job, you get to plan your time well before you kick-off a side project. Otherwise, you might feel like you would never see the end of it.
So the question is how you want to do it? From completely drag & drop solutions to hand-crafting the HTML pages line by line, you will have to pick a way.
After some research, I concluded my expectation as below:
- No drag & drop
- Publish & host on GitHub Pages
- Blogging module
- From A to Z within a week
- Low technical entry barrier
- Further areas of development and customization
Among so many available tools, I eventually decided for Hugo after checking its documentation. You literally don't need to "program" anything.
Let's get to the point
What do we need?
- A GitHub account
- Git installed and configured
- A little bit of Markdown experience: take fives minutes to read the instruction
- A little bit of command line knowledge: you know where your terminal is, and can copy&paste
- Patience, love & motivation :3
Create Git repositories
In this introduction, we will be hosting our personal website using GitHub Pages.
Overall, we will create two repositories under your GitHub account:
- SITE_NAME
- GITHUB_USERNAME.github.io

The repository HUGO_SITE_NAME is used to save the original Hugo project,
which is the place where you edit the articles, configure your pages, and tune
your themes.
And GITHUB_USERNAME.github.io is for the generated HTML content that will
be rendered by Hugo. It will also be a submodule of the first repository in our
setup.
One important thing to notice here is that we need to create the second repository with this specific name above for hosting via Github Pages.
Setup Hugo
After you have installed Hugo successfully. Go to where you would like to put your Hugo project and generate a Hugo project:
hugo new site HUGO_SITE_NAME
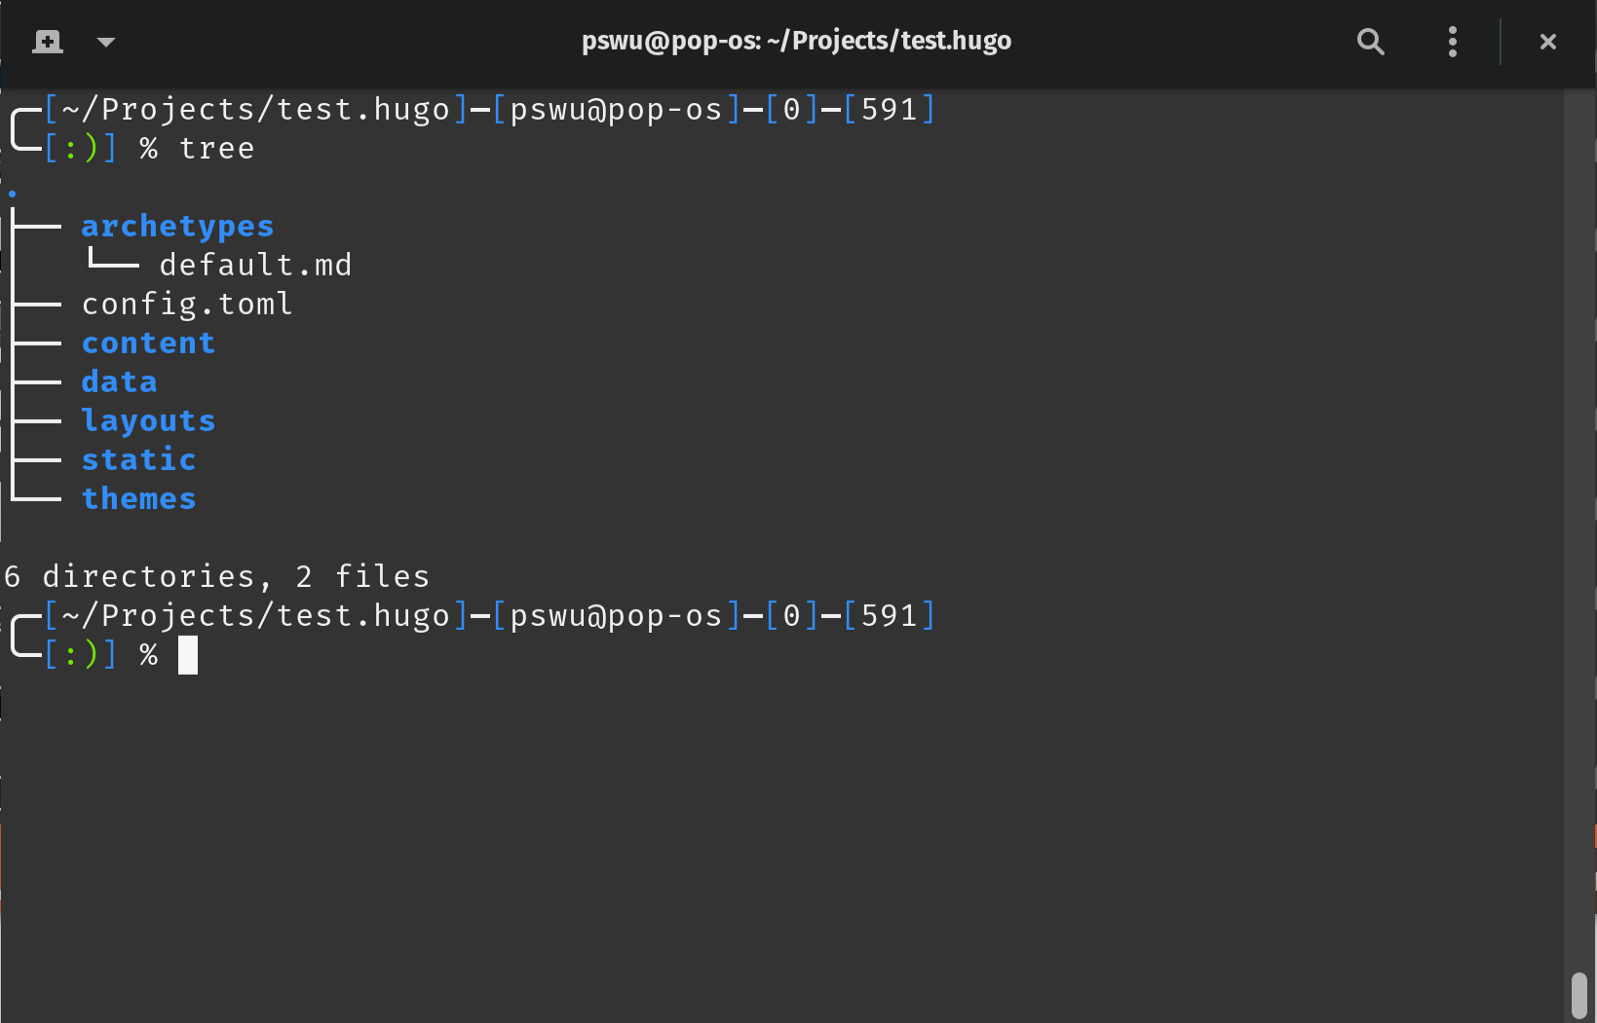
After you have create your Hugo project, Hugo will generate a structure which looks like below:

But for now, we will only work with below items:
- config.toml: the configuration file for your personal website
- themes: where you could use existing themes or customize your own here
- static: the default path for any images you want to put into your blog posts
- content: where your about me and blog pages are located
Add a theme
After the overall structure is created, now we need to pick a theme that suits your imagined site the most.
Visit Hugo Themes and find one you like.
In this tutorial, we use meme theme.
Make sure you are in your project folder:
git init

git submodule add https://github.com/calintat/minimal.git themes/meme

cp themes/meme/exampleSite/config.toml .
Until now, we are almost done, but we need to do a bit of configuration.
Open your config.toml, which is the one you just copied from the meme theme.
Make sure below parts are modified correctly:
…
baseURL = "https://<GITHUB_USERNAME>.github.io/"
…
theme = "meme"
…
publishDir = "<GITHUB_USERNAME>.github.io"
…
Save it. Now we will host this website on your local machine and see if it runs smoothly as we imagine.
Run this in the terminal:
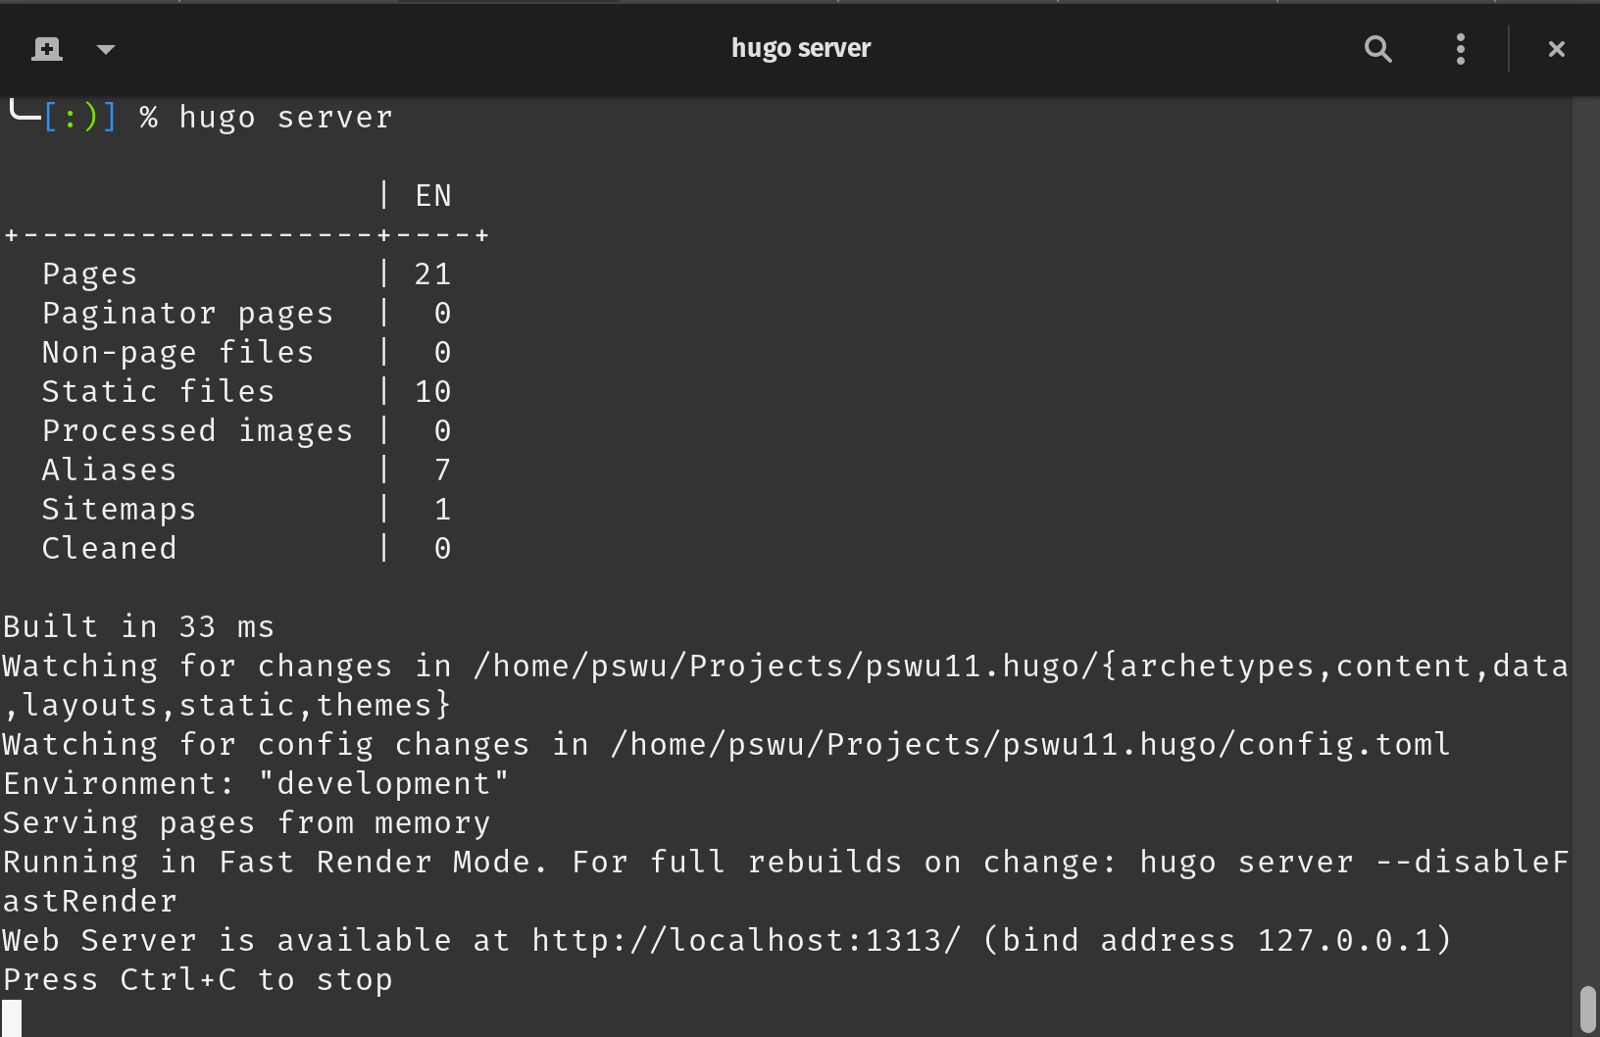
hugo server

Now Hugo has generated your static website and make it available on your machine locally.
Go check out http://localhost:1313/ in your browser, you should be able to see your personal website in the theme you picked earlier.
Congratulations!
Host your website using GitHub Pages
So, "yay" you say, "but what now?"
Now, we need to make sure it also works on GitHub Pages.
If you remember we have created two repositories, it's time to connect to them. First, make sure you are still in the project folder.
git init

git remote add origin [email protected]: GITHUB_USERNAME/SITE_NAME.git

git add .

git commit -m "first commit for my hugo website."
Then we add submodule, which will be the folder for our generated HTML:
git submodule add [email protected]:GITHUB_USERNAME/GITHUB_USERNAME.github.io.git
Finally, we have added our origins to git repositories. And we need to rendered our static website and push it to our second GitHub repository.
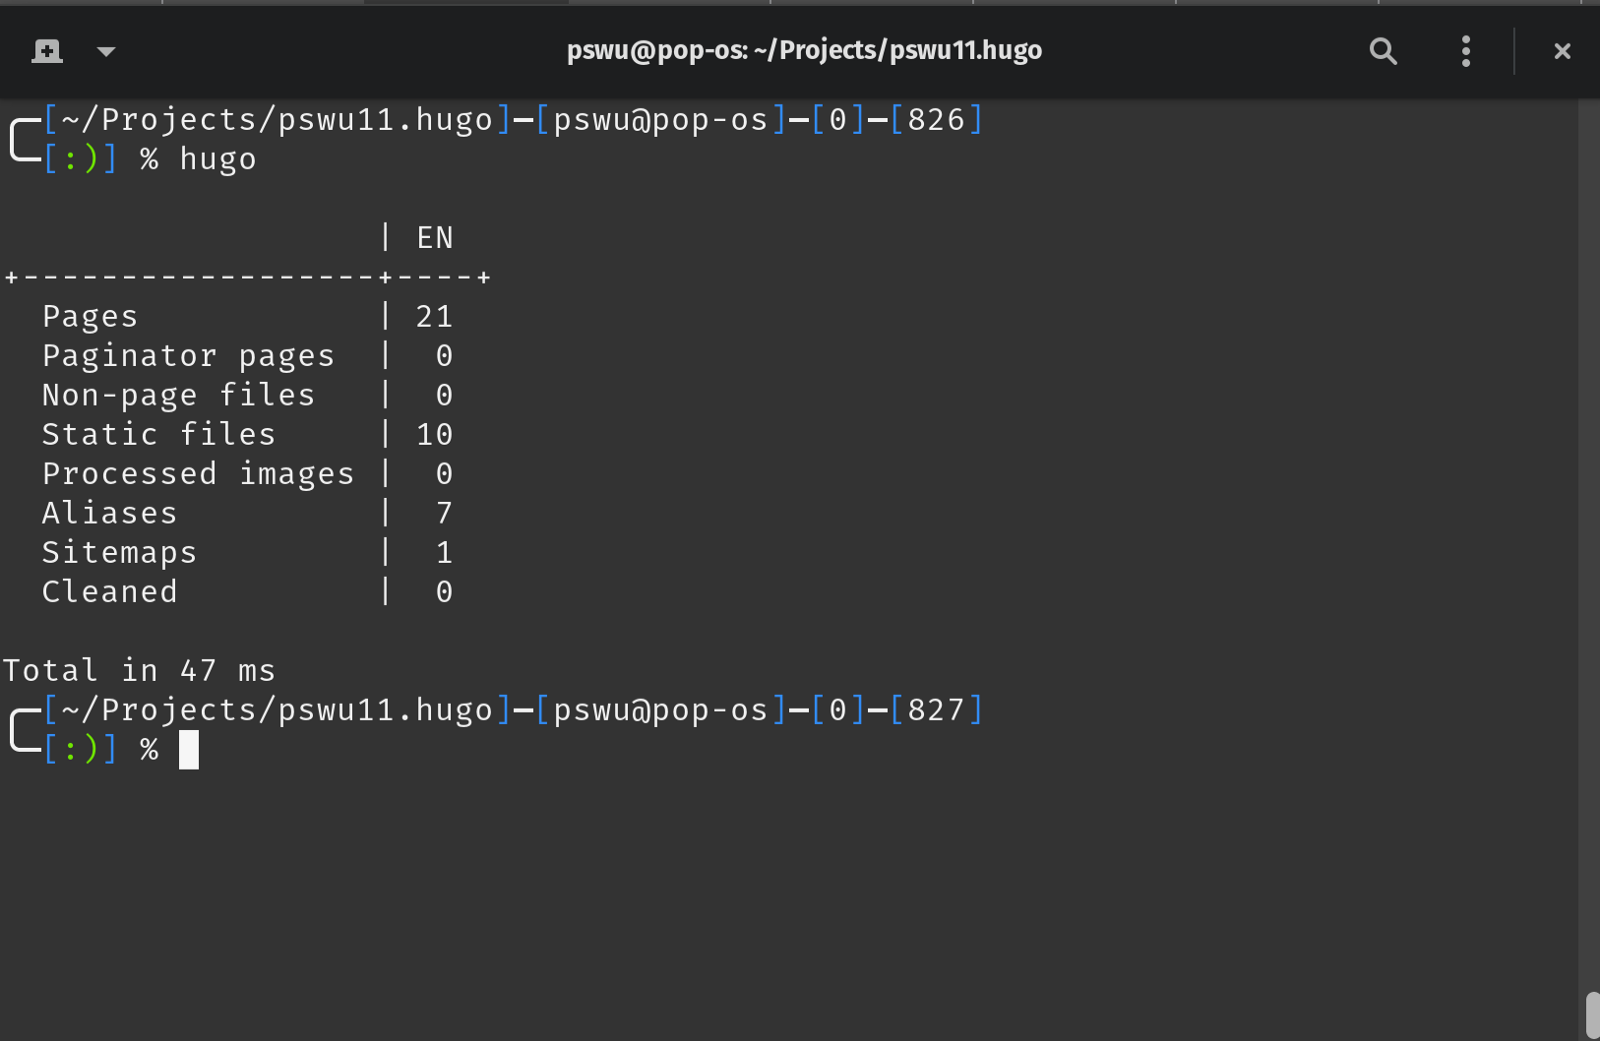
hugo
This command will generate your website content to the submodule folder we just created:

Now we navigate to the submodule folder:
cd GITHUB_USERNAME.github.io

git add .

git commit -m "first commit for my generated HTML content."

git push origin master
Your website is now available at https://GITHUB_USERNAME.github.io this
address.
Check it out in your browser!
Mine looks like this: pswu11.github.io
Final step: customization and content
Wait, it's still not finished.
We need to make this website look like YOUR personal website.
What could you do?
- Go trough config.toml and configure your website the way you want
- Create content such as About Me or blog posts using Markdown format (.md)
After that, repeat the steps to push your changes to GitHub repositories, for your Hugo project as well as for your submodule.
Feel free to leave your comments if you have any questions!
Note: This article is also published on Medium (Link).